Did you buy it?
Did you make it?
How did you make it?
What do you use to write on it?
How do you clean it?
Well, here's the scoop! I made mine using a few items for dirt cheap!
It all started when I saw this huge hot pink frame at a thrift shop.
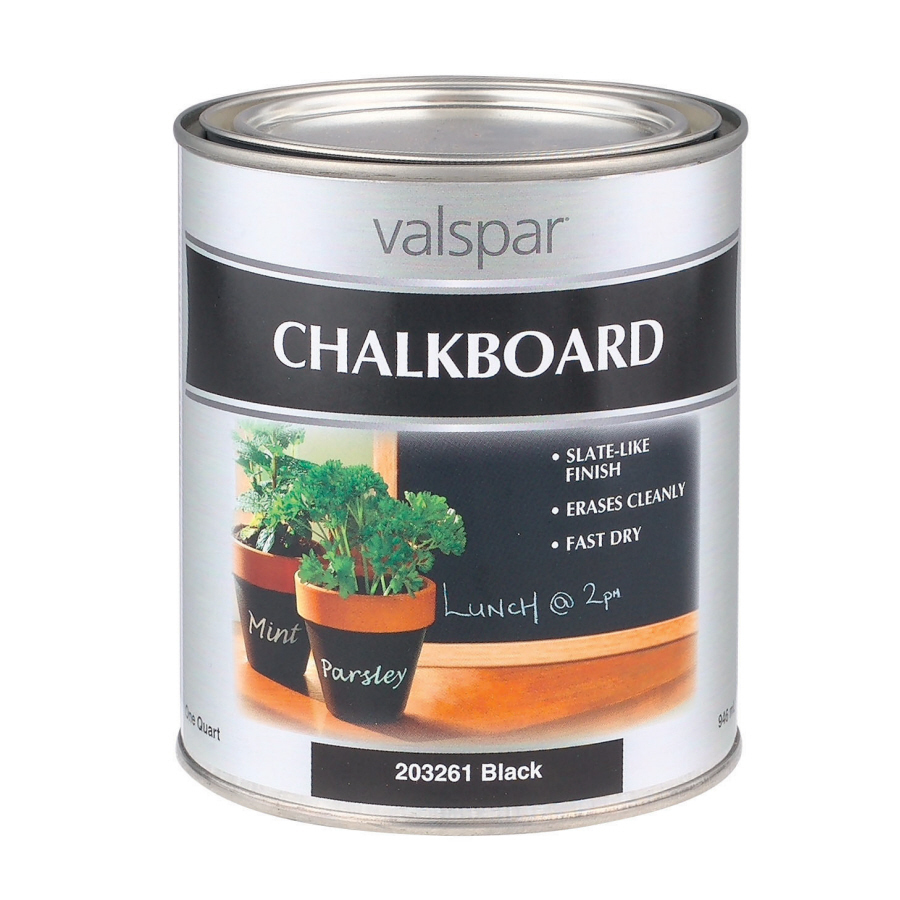
I used some handy dandy white spray paint and made it a little less flamboyant! Then I bought a piece of wood and painted it with chalkboard paint from Lowes.
Next, my husband nailed in the painted wooden chalkboard piece to the back of the newly painted frame, and ta da! Done! Total cost of the project was about $30. I made it a few years ago when it seemed virtually impossible to find a chalkboard of that size. Now, I see them at most home decor stores but for $100 or so. Overall, I've been pleased with the chalkboard and how it's held up.
To write on the chalkboard, I use Chalk Ink chalkboard pens.
Now comes the tricky part- cleaning it. I've realized that the Chalk Ink pens are awesome, but virtually impossible to clean off. Regular white chalk rubs off well, but it's much harder to write with and sometimes I don't want it to wipe off easy.
Here's an example of the chalk ink not erasing well. I've tried soap, water, a sponge, etc. What it comes down to is paint. After each use, I paint one coat of chalkboard paint on the wood, and it's good as new! It might seem inconvenient to some, but it's really the best way to get everything off and have a fresh board. Just keep your small can of paint and a brush in an easy to access area, and it should be easy to maintain.
And that's how I made my chalkboard! I've had other friends buy a framed mirror and just paint the mirror with chalkboard paint. It works just as well but is much heavier than a regular piece of wood.
Good luck making your very own fabulous chalkboard!


0 comments:
Post a Comment